
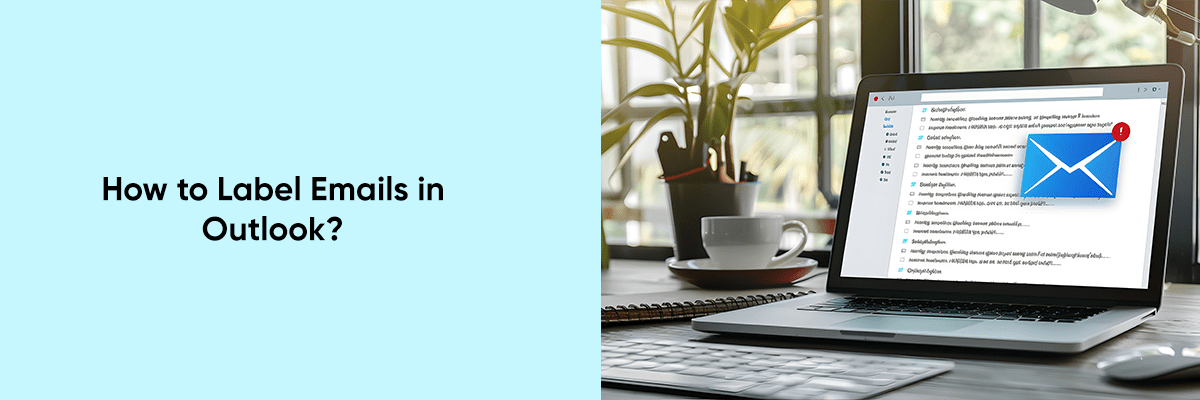
Managing emails effectively is crucial for maintaining productivity and staying organized, especially in a busy inbox. Microsoft Outlook, one of the most popular email clients, provides powerful tools to help you manage your emails efficiently. One of these tools is the ability to label or categorize emails, which allows you to sort, prioritize, and access emails more easily.
This guide will walk you through how to label emails in Outlook and optimize your email management.


What Does Labeling Emails in Outlook Mean?
Labeling emails in Outlook typically refers to using categories to organize emails. Categories in Outlook are essentially labels that you can assign to emails, calendar events, tasks, and contacts. Each category is color-coded, making it easy to distinguish between different types of emails at a glance. By categorizing your emails, you can quickly filter and find messages related to specific projects, clients, or topics.
How to Label Emails Using Categories in Outlook
Here’s a step-by-step guide on how to label emails in Outlook using categories:
- Open Microsoft Outlook: Launch the Outlook application on your desktop or open Outlook on the web through your browser.
- Select the Email You Want to Label: Navigate to your inbox or the folder where the email is located. Click on the email you want to label to select it. You can also select multiple emails by holding down the Ctrl key and clicking on each email.
- Access the Categorize Option:
- Outlook Desktop App: On the toolbar at the top of the screen, look for the Categorize option under the Home tab. It is usually represented by a colored square icon.
- Outlook Web App: Click on the three-dot icon (also known as “More actions”) at the top of the email or from the message list, and select Categorize from the dropdown menu.
- Choose a Category:
- If you are using Outlook for the first time, you might see some default categories such as Red Category, Blue Category, etc. Click on the category you want to assign to the selected email.
- If you want to rename a category or create a new one, select All Categories or Manage Categories. A dialog box will open where you can rename existing categories, add new categories, or delete ones you no longer need.
- Assign the Category: Once you’ve selected or created your desired category, it will be assigned to the selected email(s). The email will now be color-coded with the category color, making it easy to spot in your inbox.
- Filter Emails by Category: To view all emails labeled with a specific category, go to the Search bar at the top of your Outlook window, type in the category name, or use the Filter options to select the desired category from the dropdown list. This will display only the emails that have been assigned that category.
Tips for Effectively Labeling Emails in Outlook
- Use Descriptive Category Names: Instead of generic names like “Red Category” or “Blue Category,” use more descriptive names like “Project Alpha,” “Client Communications,” or “To Do Today List” to make it easier to identify the purpose of each category.
- Color Coding: Make use of Outlook’s color-coding system to assign different colors to categories based on priority or project type. This will allow you to visually differentiate between emails without needing to open them.
- Consistent Labeling: Be consistent in how you label your emails. If you have a team using Outlook, establish a consistent categorization scheme to avoid confusion and ensure everyone is on the same page.
- Utilize Rules for Automatic Labeling: Outlook allows you to set up rules to automatically assign categories to incoming emails based on criteria like sender, subject, or keywords. This can save you time and help keep your inbox organized.
Using Folders Alongside Categories for Optimal Organization
While categories are a powerful tool for labeling and managing emails in Outlook, combining them with folders can further enhance your organizational system.
- Create Folders for Different Projects or Clients: Set up folders for specific projects, clients, or types of emails (like “Invoices,” “Meeting Notes,” or “Newsletters”). This allows you to drag and drop emails into these folders after categorizing them, adding an extra layer of organization.
Benefits of Labeling Emails in Outlook
- Improved Email Management: Labeling emails helps you stay organized by providing a visual way to sort and find emails quickly.
- Increased Productivity: By using categories to prioritize emails, you can focus on what’s important and reduce the time spent searching for specific emails.
- Enhanced Collaboration: When working in a team, categories help ensure everyone knows how to find important emails and understand their priority and status.
- Personalized Organization: Outlook’s flexible labeling system allows you to create a personalized email management system that works best for you, your workflow, and your specific needs.
Conclusion
Labeling emails in Outlook using categories is a simple yet effective way to manage your inbox and keep your email communications organized. By taking advantage of Outlook’s categorization and color-coding features, you can quickly sort, find, and prioritize your emails, boosting productivity and reducing the stress of a cluttered inbox. Start using categories today to enhance your email management and streamline your workflow.